Understanding Your Prep Table’s Structure
Prep tables are indispensable components of any commercial kitchen, specifically designed for food preparation tasks. They not only enhance productivity by maximizing workspace but also ensure food safety by providing organized settings for ingredients and utensils. To maintain optimal functionality, understanding the structure of a prep table is essential. The right prep table repair techniques can help prolong its lifespan and efficiency.
Key Components of a Prep Table
A typical prep table comprises several key components, including the following:
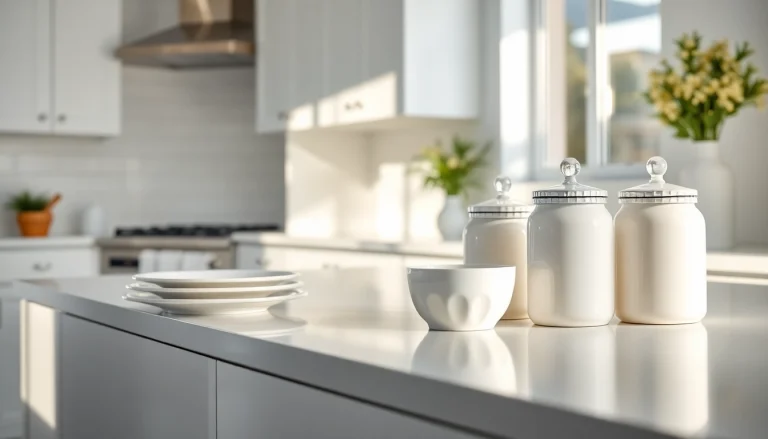
- Work Surface: The countertop area where food preparation is done. It should be made from durable, easy-to-clean materials like stainless steel.
- Refrigeration Unit: Most prep tables are equipped with a built-in refrigeration system to keep ingredients fresh and safe. This component includes compressors, evaporators, and refrigerant lines.
- Drawers and Shelves: Storage spaces for utensils, ingredients, and other cooking supplies. They can vary in size depending on the design of the prep table.
- Controls: Temperature controls for the refrigeration unit are vital. These include thermostats and sometimes digital displays for easier monitoring.
- Seals and Gaskets: These components help maintain temperature inside the refrigeration unit. Proper sealing prevents cold air from escaping.
Common Issues and Causes
Despite their robust design, prep tables experience several common issues, often caused by misuse or wear and tear:
- Temperature Control Failures: Thermostat malfunctions can lead to improper cooling, risking food safety.
- Poor Door Seals: Damaged or worn gaskets can cause cold air to escape, leading to temperature fluctuations.
- Mechanical Failures: Issues like compressor failure or electrical shorts can interrupt cooling functions.
- Dirty Condenser Coils: Dust and debris can accumulate on the coils, impeding performance and efficiency.
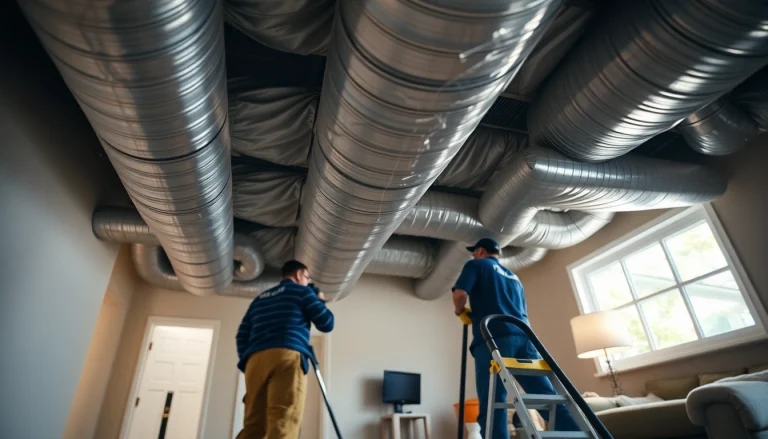
Safety Considerations During Repairs
When conducting repairs on a prep table, adhering to safety protocols is paramount:
- Disconnect Power: Always unplug the unit before starting repairs to prevent electrical shocks.
- Wear Protective Gear: Safety goggles and gloves are essential when handling refrigerants or cleaning chemicals.
- Work in a Well-Ventilated Area: Ensure that your workspace has adequate ventilation, especially when using chemical cleaners.
Diagnosing Common Prep Table Problems
Recognizing problems early can save significant time and repair costs. Here’s how to diagnose issues effectively:
Identifying Temperature Control Failures
Temperature issues often manifest as inconsistent cooling. To diagnose:
- Check the Thermostat: Set it to a lower temperature and see if the system responds.
- Inspect Wiring Connections: Look for any signs of fraying or loose connections that may disrupt electrical flow.
- Evaluate the Compressor: Listen for unusual sounds; if the compressor is hot but not functioning, it may need replacement.
Examining Seal Issues and Repairs
Door seals play a crucial role in maintaining internal temperatures. Signs of seal issues include:
- Frost Build-Up: Excessive frost inside the refrigerator may indicate poor sealing.
- Condensation: Moisture on the outside of the door can suggest a failing gasket.
To repair these issues, consider replacing worn gaskets or adjusting the door alignment.
Assessing Mechanical Failures
Mechanical failures can stem from various sources. Testing these components is vital for restoring functionality:
- Compressor: Listen for any unusual sounds which may indicate malfunction.
- Fan: Ensure that the fan is operational; it should be unobstructed and running smoothly.
- Electrical Components: Inspect fuses and circuit breakers, as blown fuses can interrupt functions.
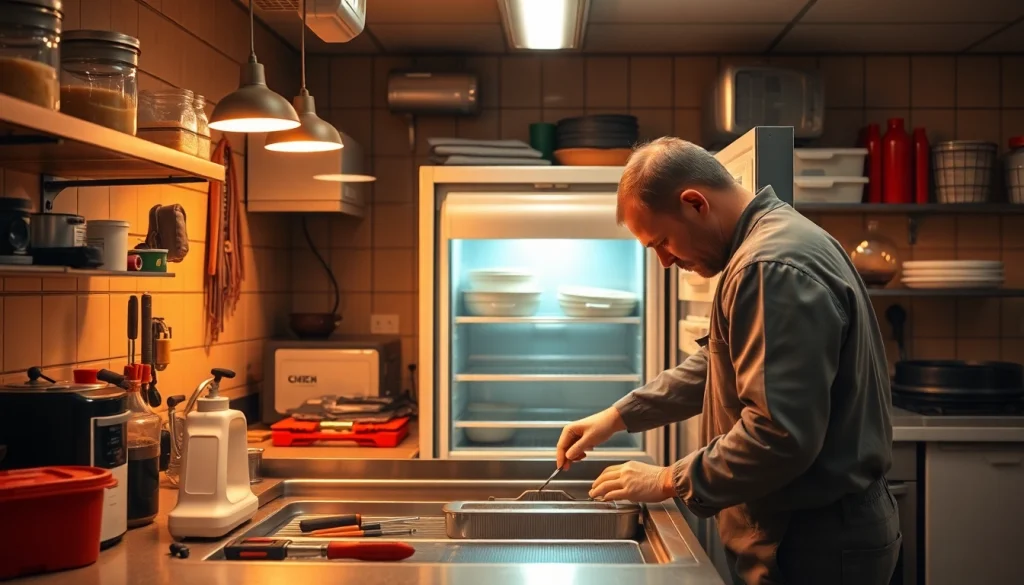
Steps to Perform Effective Prep Table Repair
Repairing a prep table yourself can save money if handled correctly. Here’s a comprehensive guide to get you started:
Essential Tools and Equipment
Before starting repairs, ensure you have the following tools on hand:
- Multimeter for testing electrical connections
- Screwdrivers of various sizes
- Pliers and wrenches
- Cooling equipment (if replacing compressors)
- Cleansing agents for cleaning components
Step-by-Step Repair Guide
Follow these procedures based on the issue at hand:
For Temperature Control Issues:
- Unplug the prep table and remove the access panel for the thermostat.
- Use a multimeter to check for continuity.
- Replace the thermostat if needed.
- Reassemble the unit and plug it back in.
For Seal Replacement:
- Open the door and examine the gasket for damage.
- If damaged, carefully remove the old gasket.
- Install the new gasket, ensuring it fits tightly.
For Compressor Replacement:
- Disconnect power and release refrigerant (seek professional help if necessary).
- Disconnect electrical connections and unscrew the compressor.
- Replace with a new compressor and restore connections.
- Recharge refrigerant and test functionality.
Post-Repair Maintenance Tips
After repairs, maintaining your prep table is crucial for longevity:
- Regularly clean the condenser coils to prevent dust accumulation.
- Check door seals monthly to ensure they articulate properly.
- Perform temperature checks weekly to ensure optimal functionality.
When to Call a Professional for Prep Table Repair
While many repairs can be handled in-house, certain situations warrant professional assistance:
Signs Your Prep Table Needs Expert Help
Watch for these indicators that suggest a need for professional intervention:
- Persistent temperature fluctuations despite adjustments.
- Ongoing mechanical noises not resolved with simple fixes.
- Unexplained leaks or pooling water around the unit.
Choosing the Right Repair Service
Selecting a qualified repair service is paramount. Look for providers with:
- Positive customer reviews and testimonials.
- Licensing and insurance to protect against liability.
- Experience with specific brands and types of prep tables.
Cost Expectations for Repair Services
The cost for professional repair can vary based on:
- The complexity of the issue (e.g., compressor replacement may be more costly).
- The region and local labor rates.
- Parts replacement needs; branded parts can drive costs up.
Typically, costs can range from $150 to $600, depending on the factors involved.
Preventive Maintenance for Prep Tables
Preventive maintenance can significantly reduce the risk of major repairs. Here are effective strategies:
Regular Cleaning Protocols
Follow these cleaning protocols to keep your prep table in optimal condition:
- Daily cleaning of the work surface to remove food debris.
- Weekly deep cleaning of the refrigeration unit.
- Monthly inspections of seals and mechanical components.
Routine Checks to Avoid Repairs
Implement routine checks as a best practice:
- Monitor temperature logs daily to catch fluctuations early.
- Inspect door seals and hinges bi-weekly to maintain proper closure.
- Keep an eye on electrical components for signs of wear.
Long-Term Care Tips for Longevity
To extend the life of your prep table, consider these long-term care tips:
- Invest in quality replacement parts when needed to ensure compatibility.
- Schedule regular professional maintenance at least once a year.
- Explore warranties for added protection against unexpected repairs.